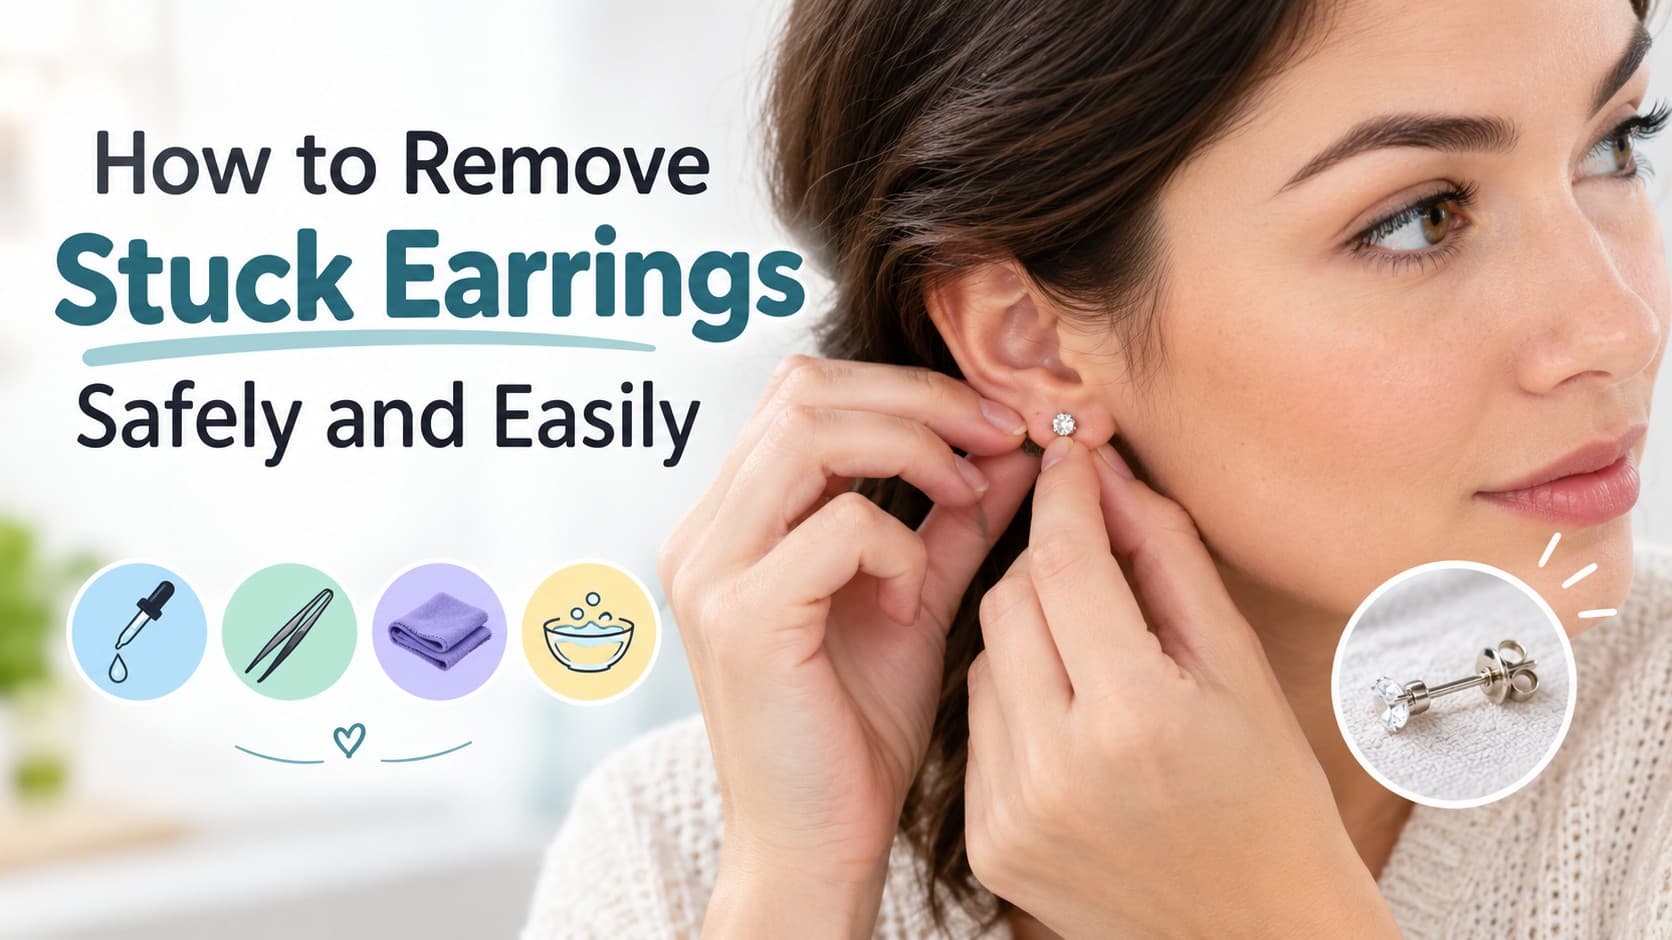
A stuck earring is one of those small problems that can feel much bigger than it actually is. What starts as a routine task, taking earrings out before bed, can suddenly turn into several frustrating minutes of twisting and pulling at a tiny piece of metal that refuses to move. This happens to nearly everyone who wears earrings at some point, and most of the time it has nothing to do with the piercing being unhealthy. It usually comes down to simple causes like dried skin oils, a bent earring back, or a post that has gotten slightly rough over time. Understanding the right approach can prevent unnecessary pain and stop a minor annoyance from turning into a skin injury.
Common Reasons Earrings Get Stuck
Earrings usually get stuck because something is creating extra friction between the post and the backing. This is almost always caused by a buildup of natural skin oils, dead skin cells, or dried lotion around the earring post.
Over the course of a day, skin naturally produces oil and sheds tiny cells. Some of that gets trapped in the tiny gap between the earring post and the back, and once it dries out, it acts almost like glue. Sweat, hairspray, and skincare products can make the problem worse, since they leave a thin residue behind. In other cases, the metal itself is the issue. A bent post, a scratched surface, or a poorly made earring back can catch on the skin or on itself, making it far harder to slide off smoothly.
The type of metal plays a role as well. Mild irritation from a metal like nickel can leave the skin around the piercing slightly inflamed or flaky, and that extra skin debris adds to the buildup that causes sticking. This is one reason hypoallergenic materials such as surgical steel, titanium, and 14k gold tend to cause fewer stuck-earring situations than cheaper mixed-metal earrings, since they irritate the skin less to begin with. Dry weather adds to the effect too, since dry, flaky skin sheds more than usual and leaves extra debris around the post.
Stay Calm Before Trying Anything
The most important step when dealing with a stuck earring is to stop pulling. Yanking on a stuck earring is the leading cause of earlobe injuries in these situations.
Earlobe skin around a piercing is thin and delicate compared to skin elsewhere on the body. Pulling hard on a stuck earring puts all that force onto a very small area, which can tear the skin, cause bleeding, or leave a sore, swollen lobe for days. Panic also tends to make hands less steady, which raises the odds of a slip that scratches the skin with the earring itself. A calmer approach, with clean hands and good lighting, produces far better results than a rushed one.
A stuck earring is a patience problem, not a strength problem. Force rarely works, but a few minutes of gentle loosening almost always does.
How to Remove a Stuck Post Earring
For a classic post-and-butterfly-back earring, cleaning, lubricating, and gently twisting works far better than pulling.
- Wash hands with soap and water to avoid introducing bacteria to the ear.
- Clean the area around the earring with a cotton pad soaked in warm water, or a saline solution.
- Hold a warm, damp cotton pad against the earlobe for a minute to soften dried oils and residue holding the back in place.
- Add a small drop of lubricant, such as petroleum jelly, olive oil, or antibacterial ointment, right where the post meets the back.
- Hold the front of the earring steady so it does not twist inside the piercing itself.
- Rock the back gently from side to side rather than pulling it straight off, to help it break free from any dried buildup.
Most stuck post earrings free up within two or three minutes of this kind of gentle cleaning and rocking. Anything beyond five minutes without progress is a sign to add a warm compress rather than repeat the same motion, since continued twisting in one spot can irritate the skin even without any pulling involved.
How to Remove a Stuck Flat Back Earring
Flat back, or push-pin, style earrings get stuck differently, since the back is a flat disc that slides along a threaded or smooth post rather than clicking into place.
These earrings often get stuck because the disc has slid too far down the post and dried skin oil has filled the tiny gap, creating suction similar to a stuck jar lid. The same cleaning and lubricating approach applies here: cleaning the post and disc with rubbing alcohol on a cotton swab, adding a drop of oil, then gently twisting the flat back in small circles while pulling it away from the ear at the same time. Sharp tools such as needles or scissor tips should be avoided for prying, since they can slip and cut the skin.
Piercers have a technique worth knowing about for truly stuck flat backs, even though it is not something to attempt without training. A hollow piercing needle, sized just slightly larger than the earring post, is slid over the post between the disc and the ear. This breaks the suction and separates the two pieces without a sharp edge ever touching the skin. For a trained piercer, it is a quick, low-drama fix, which is exactly why this style is best left to a professional once home methods stop working.
How to Remove a Stuck Screw-Back Earring
A screw-back earring gets stuck for a different reason than the others: the threads on the post have either become misaligned or gummed up with dried residue, so the back will not turn smoothly.
Screw backs work by twisting onto a threaded post, making them one of the most secure styles and a common choice for young children or for earrings set with loose gemstones. The most frequent cause of a stuck screw back is cross-threading, which happens when the back starts turning at a slight angle and the threads never line up correctly. Continuing to force it in that state only jams it tighter. The fix is to hold the front of the earring steady, back the screw off slightly by turning it clockwise for a quarter turn to reset the threads, then attempt the counterclockwise turn again slowly. When the threads simply feel gritty rather than crossed, a drop of oil at the base where the back meets the post, given a minute to work in, is usually enough to restore smooth movement.
How to Remove a Stuck Hoop Earring
Hoops and lever-back earrings get stuck in a different way altogether, since the problem is usually swelling around the piercing rather than a dried, sticky earring back.
With hoops, even slight swelling in the earlobe or cartilage, caused by irritation, sleeping on the piercing, or a mild allergic reaction, can cause the tissue to grip the hoop tightly enough to block easy movement. A warm compress does double duty here, reducing the swelling while making the tissue more flexible. Once the swelling has eased, rotating the hoop slowly along its natural curve works better than pulling it straight out. Lever-back earrings, the kind with a small hinged latch, tend to get stuck when the hinge mechanism itself is dirty or has developed light corrosion. Working a drop of rubbing alcohol gently into the hinge with a cotton swab, then carefully moving the lever back and forth a few times, usually frees it without forcing the latch open.
When Home Methods Aren’t Working
A warm compress is the next step when gentle twisting and oil have not worked after a few attempts, and it should come before anything more forceful is tried.
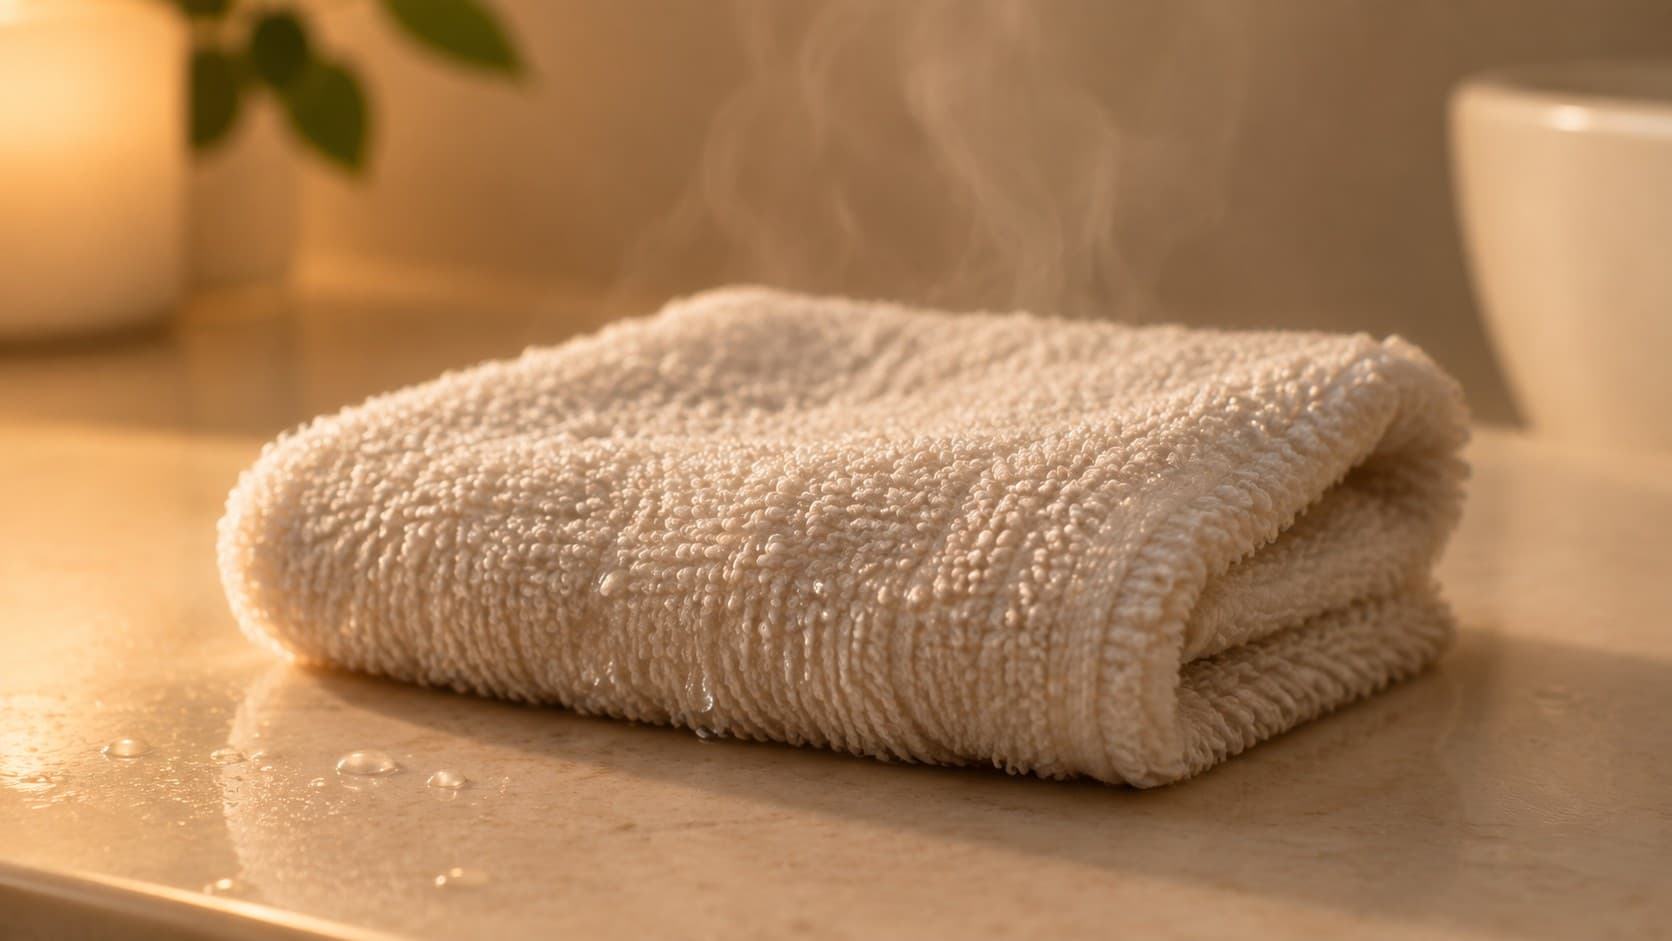
A warm compress increases blood flow to the area and relaxes the skin, loosening its grip on the earring back. A clean washcloth soaked in warm, not hot, water and pressed against the earlobe for five to ten minutes usually does the job. The twisting method, with fresh lubricant, often succeeds on the next attempt after this step. A second person looking at the earring from behind can also help, since the correct angle for release is often easier to see from that side than in a mirror.
Warning Signs to Stop and Get Help
Certain warning signs call for an end to home methods and a move toward professional help instead.
- The earring back appears to be sinking into or embedded in the skin.
- Significant swelling, redness, or warmth has developed around the piercing.
- Pus or unusual discharge is coming from the piercing.
- Sharp or increasing pain is present rather than mild discomfort.
- The earring has not budged after several gentle attempts and a warm compress.
Pushing through any of these situations at home risks driving the problem deeper, tearing the skin further, or spreading an infection. These are the moments where professional tools and training make a genuine difference.
Cartilage piercings, such as the upper ear or helix, call for extra caution compared to lobe piercings. Cartilage has less blood flow than the soft, fleshy lobe, which means it heals more slowly and is more prone to painful complications if it is injured or infected. A shorter window with home methods, followed by a quicker move to a professional, is the safer approach for a stuck cartilage earring.
When Professional Help Is Needed
A piercer or doctor is the right next step once home methods have failed or signs of infection appear, since both have sterile tools built for exactly this problem.
Piercing professionals see stuck earrings regularly and usually carry specialized tools, such as fine surgical pliers, capable of gripping and releasing a stuck back without damaging the skin. An urgent care clinic or a regular doctor is a solid alternative when a piercer is not available, especially with any sign of infection, since a doctor can also prescribe treatment if needed. Seeking help for something that feels minor is not an overreaction. A few extra minutes at a piercer or clinic is a small price compared to a torn earlobe or an infection that lingers for weeks.
In practice, this is usually a fast, low-cost visit rather than a big ordeal. A piercer can typically free a stuck earring within a few minutes, often for free or for a small fee for returning customers. A doctor’s visit takes longer because of check-in and wait times, but it is the right call whenever swelling, pus, or real pain is involved, since a doctor can check the piercing itself and treat any infection at the same time.
What to Do After the Earring Is Out
Once the earring is finally off, a little aftercare goes a long way toward keeping the ear healthy and comfortable.
Washing the area gently with mild soap and warm water, then patting it dry rather than rubbing, is the right first move. A thin layer of antibiotic ointment can help settle mild redness or irritation over the following day or two, as long as there are no signs of infection. The spot deserves attention for the next 24 to 48 hours, since increasing redness, swelling, or pus at that point calls for a doctor even if things looked fine at first.
Mild redness or tenderness right after removal is normal and usually settles within a day. The pattern worth watching for is the opposite: symptoms getting worse instead of better. More swelling or pain on the second day than the first, or the onset of a fever, is no longer something to wait out, and calling a doctor is the better move at that point.
How to Stop This From Happening Again
A few small habits can turn stuck earrings from a regular headache into a rare event.
- Regular cleaning of earring posts and backs with a little rubbing alcohol removes the oils that cause sticking before they build up.
- Removing earrings before bed cuts down on the hours of extra oil exposure and pressure that come with sleeping in them.
- Quality, smooth-finished earring backs catch and stick less often than cheap or worn ones.
- Earrings with a bent, scratched, or rough post or back are best set aside until repaired or replaced.
- Heavy lotion or hairspray near the ears on days earrings are worn adds to the residue that leads to sticking.
Frequently Asked Questions
Is it normal for earrings to get stuck sometimes?
This is a common and usually harmless issue. It almost always comes down to a buildup of natural oils and skin cells rather than a sign of a problem with the piercing.
Can tweezers be used to pull off a stuck earring back?
Tweezers work well for gripping a slippery back, but yanking or prying with them should be avoided. A minute or two of gentle grip and twisting is worth trying before switching to a warm compress and lubricant.
How long should home methods be tried before seeing a professional?
Ten to fifteen minutes spread across a couple of attempts at cleaning, lubricating, and gentle twisting is a reasonable limit. Beyond that, a piercer or doctor is the better option rather than continuing to push.
Does removing a stuck earring hurt?
It should not, when done slowly with lubrication rather than force. Sharp pain is a signal to stop immediately, since it usually means the skin is being pulled or pinched.
Can a stuck earring cause an infection?
Being stuck is not itself the cause of infection, but forcing it and tearing the skin can open the door to bacteria. Keeping the area clean throughout the process, and afterward, is the best defense against that risk.
The Bottom Line
Most stuck earrings come down to the same simple culprit: dried oils and skin cells creating friction where the post meets the back. Cleaning the area, adding a drop of lubricant, and twisting gently rather than pulling resolves the problem in the vast majority of cases. When that is not enough, a warm compress buys a little more flexibility, and a piercer or doctor can finish the job safely with the right tools once home methods reach their limit. The rule that matters more than any other is to never force it, since patience protects the skin far better than strength ever could.