A properly fitted watch band transforms both the comfort and functionality of your timepiece. When your watch fits correctly, it won’t slide around your wrist, cause irritation, or feel restrictively tight. Whether you’ve purchased a new watch or your body has changed, knowing how to resize different types of watch bands gives you the power to maintain the perfect fit without always depending on professional services. Each watch band type requires specific resizing approaches, from removing links in metal bands to creating new holes in leather straps or adjusting sliding clasps on mesh bands.
Watch Band Types and How to Resize Each
Watch bands come in various materials and designs, each requiring specific approaches to achieve proper sizing. Understanding your band type helps determine which resizing method will work best and what tools you might need before you begin.
- Metal link bands consist of interconnected links secured by pins, screws, or push pins. Resizing involves removing or adding links to achieve desired length. Most higher-end watches use screws or pins with collars that require careful handling, while more affordable watches often use push pins that can be removed with simpler tools. Typical adjustment range is between 5-20mm depending on band design.
- Leather and fabric bands usually feature a buckle-and-hole system similar to belts. These bands can be adjusted by using different holes (typically offering 2-3cm of adjustment range) or by creating new holes with a leather punch. Some premium leather bands include multiple removable segments near the clasp for major size adjustments before fine-tuning with the buckle.
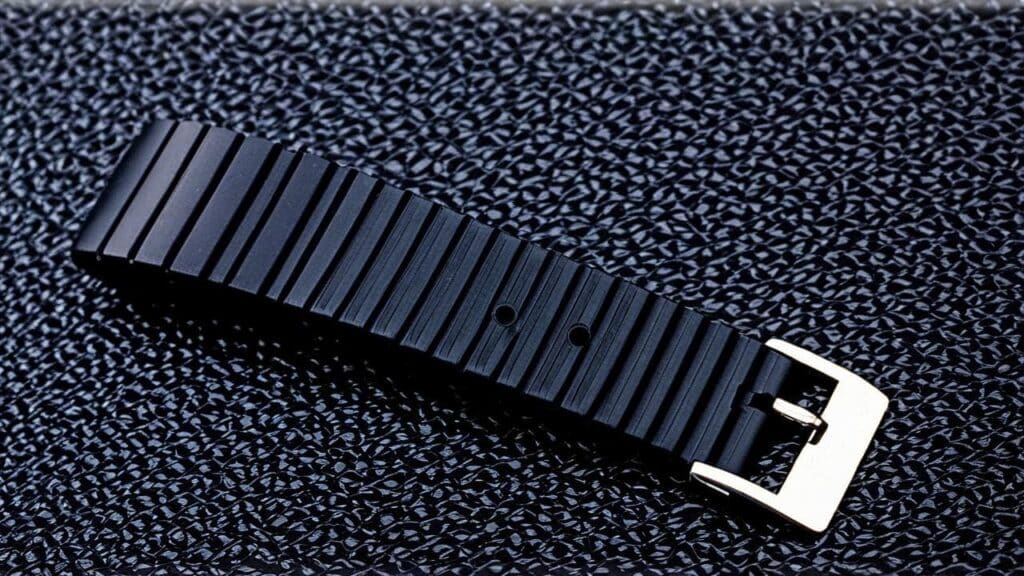
- Rubber and silicone bands come in either fixed sizes that require cutting to length or adjustable designs with pin-and-tuck closures. Many modern sports watches feature tool-free quick-adjustment clasps that can expand 5-8mm to accommodate wrist swelling during exercise.
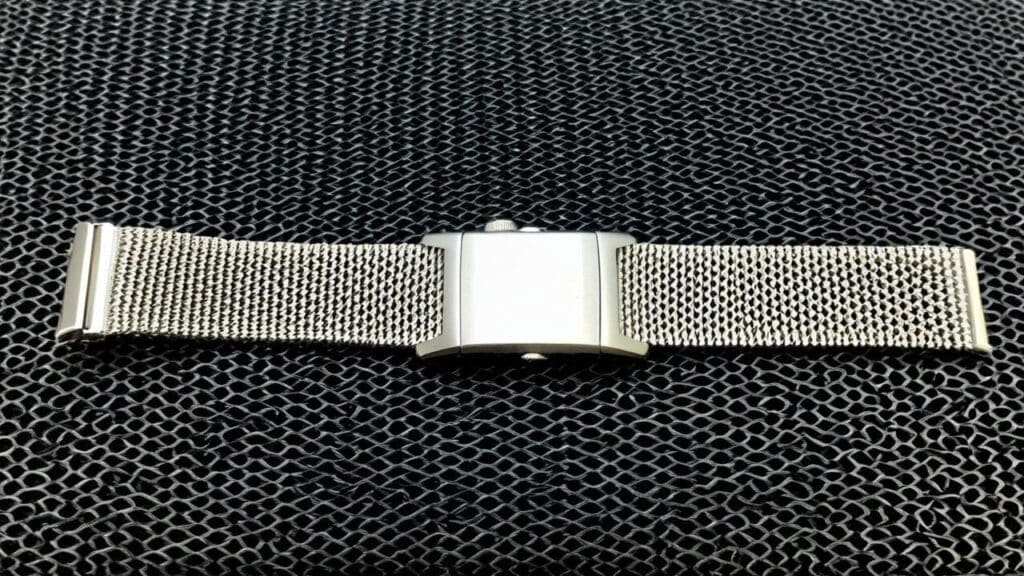
- Mesh bands contain a sliding clasp mechanism that locks at various positions along the underside of the band. This ingenious design allows for precise adjustments down to 1mm increments without removing material. The clasp typically has a release lever or button that must be pressed to reposition it.
- NATO and nylon straps offer the simplest adjustment method—just repositioning the buckle on the strap and trimming excess material if needed. These straps provide 2-3 inches of adjustment range and can be adjusted while wearing the watch, making them ideal for changing conditions.
The versatility across watch band types means there’s a suitable resizing approach for every situation. Metal bands offer the most precision but require tools, while leather and fabric options provide easier adjustments but with fewer size increments. Understanding these differences helps you confidently approach resizing any watch in your collection.
Essential Tools for Resizing Any Watch Band
Properly resizing a watch band requires specific tools that vary depending on your band type. Having the right equipment not only makes the process easier but also prevents damage to your watch and ensures a professional-quality result.
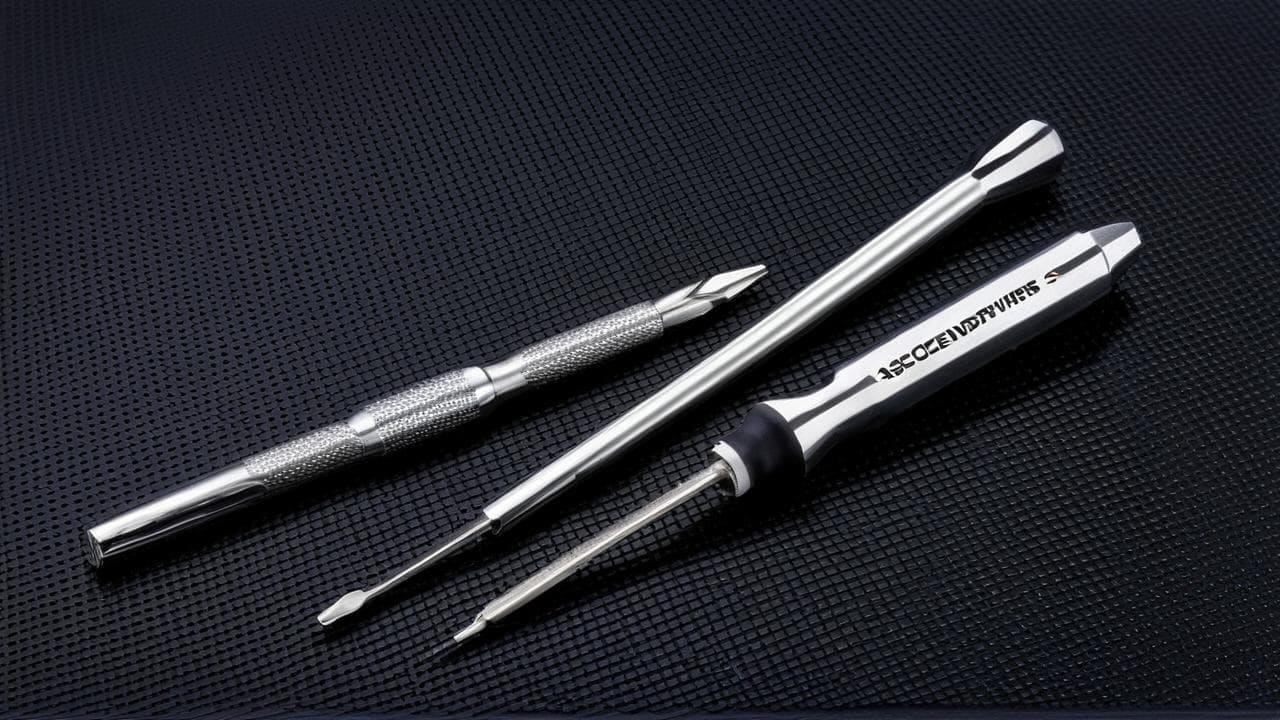
- Watch link removal tool – An all-in-one device with adjustable pin pusher and support platform specifically designed for removing links from metal watch bands. Quality tools cost $15-30 and include multiple pin sizes to accommodate different watch brands. This investment pays for itself after just 1-2 band adjustments.
- Spring bar tool – Essential for removing and installing spring bars that connect the band to the watch case. The forked end lifts the spring bar from its position, while the pin end helps compress it during installation. Look for one with replaceable tips as they can wear down over time.
- Precision screwdriver set – Needed for watch bands using screws to secure links (common in luxury brands like Rolex and Omega). These tiny screwdrivers typically range from 0.8mm to 2.0mm. Always use the exact size to prevent stripping the screw heads, which can make removal nearly impossible.
- Leather hole punch – For creating new adjustment holes in leather or fabric straps. Rotary punches with multiple size options (0.5mm to 5mm) work best as they create clean, professional-looking holes. Always use backing material to prevent damage to your work surface.
- Microfiber cloth and watch mat – A non-scratch work surface prevents your watch from sliding around while protecting it from scratches. The cloth also helps you organize and keep track of tiny components that could easily get lost.
- Magnifying glass or loupe – A 10x magnification tool helps you see small components and directional arrows that often indicate which way pins should be pushed out. For those who wear glasses, a head-mounted magnifier may be more practical.
- Pin holder or masking tape – Keeps removed pins organized and prevents them from rolling away. Some watchmakers prefer a magnetic pin holder, while others use a strip of masking tape with the sticky side up.
- Small hammer (optional) – Used with a pin punch to tap out stubborn pins in metal bands. A jeweler’s brass or plastic hammer is preferred as it won’t damage components. If using a regular hammer, tap very gently to avoid bending the pins.
Investing in quality tools saves frustration and prevents costly damage to your timepiece. While professional tools offer the best results, budget-friendly watch repair kits (around $20-30) include most essential items and work well for occasional use. Store all tools in a dedicated case to protect their precision tips and edges.
Metal Watch Band Resizing: Step-by-Step Guide
Resizing a metal link watch band is one of the most common adjustments watch owners need to make. When done correctly, you can achieve a precise fit for maximum comfort while preserving the functionality and appearance of your timepiece.
- Identify the link direction – Before removing any links, examine the arrows on the inside of the band that indicate which direction pins should be pushed. Most bands have directional pins that must be pushed in the specific direction shown by these arrows (usually from the outside toward the inside of the wrist). Pushing against the direction can damage the band.
- Measure before cutting – Put on the watch and pinch the excess links between your fingers. Each metal link typically measures 5-7mm, so count how many you need to remove to achieve your desired fit. Remember it’s better to remove too few links than too many—you can always remove more but adding them back requires having the extra links.
- Prepare your workspace – Lay out a soft cloth or dedicated watch mat on a well-lit, flat surface. Arrange your tools within easy reach and consider using a small container to hold any pins or screws you remove. Good lighting is essential for seeing the tiny components clearly.
- Position the watch in your link removal tool – Place the band in the tool with the arrow pointing down toward the pin pusher. The supporting platform should be positioned so the pin can be pushed completely through the link. Some brands like Rolex require specialized blocks with precisely sized holes.
- Apply even pressure – Turn the handle of your link removal tool slowly and with consistent pressure. You should feel the pin start to move—if you’re meeting extreme resistance, double-check you’re pushing in the correct direction. Continue until the pin protrudes from the opposite side enough to grab with tweezers.
- Keep track of all components – Some watch bands have pins with collars (tiny tubes that help secure the pin). These can easily fall out and get lost, so pay close attention when removing pins. Store removed pins and collars in the exact configuration they were removed to make reassembly easier.
- Reassemble the band – After removing the necessary links, reconnect the remaining sections. Insert pins from the opposite direction they were removed (against the arrows). If your band uses collars, position them properly before inserting the pin completely. Apply gentle pressure until the pin is flush with the band’s edge.
- Test the connection – Before wearing the watch, carefully flex the band at each connection point to ensure the links are secure. The links should move freely but without any looseness that would indicate an improperly seated pin.
Metal link resizing offers the most precise fit adjustment of any band type, typically allowing changes in 5-7mm increments. Taking your time with each step ensures a professional result that will maintain your watch’s integrity and appearance. If you hear unusual clicking or feel any loose connections after resizing, reassess your work before wearing the watch regularly.
How to Resize Non-Metal Watch Bands at Home
Leather, fabric, and rubber bands offer simpler resizing options compared to metal links, but proper technique remains important to maintain their appearance and durability. These materials form the basis for many casual, dress, and sports watches.
- Using existing holes – The simplest method is to use the pre-punched holes on your leather or fabric strap. Most bands come with 7-9 adjustment holes spaced 5mm apart. Try various positions to find the most comfortable fit—the watch should stay in place when you move your arm but not leave indentation marks on your skin.
- Creating new holes – If existing holes don’t provide the right fit, you can create new ones with a leather punch. Mark the desired location with a pencil (not pen, which can bleed into the leather), then use a punch sized to match the existing holes (typically 1.5-2mm). Place a wooden block beneath the strap when punching to create clean holes without damaging the punch.
- Proper hole spacing – Maintain consistent spacing between holes (typically 5mm) to preserve the band’s appearance and structural integrity. Never place holes too close to the band edge (maintain at least 4mm from edge) as this weakens the material and can cause tearing.
- Adjusting deployant clasps – Some leather bands use deployant clasps with micro-adjustment settings. Look for small spring bars on the clasp that can be moved between different positions to fine-tune fit. This method is preferable to adding holes as it preserves the band’s appearance.
- Sizing rubber watch bands – Many rubber bands, especially on dive watches, need to be cut to size. These typically have score lines on the inside to guide cutting. Measure carefully by wrapping around your wrist before cutting, then trim with sharp scissors following the score lines. Always cut less than you think necessary—you can’t add material back.
- Tool-free quick adjust clasps – Modern sports watches often feature clasps with built-in extension systems that can be adjusted without tools. Look for small buttons or levers on the clasp that allow it to extend or contract in 2-3mm increments, providing up to 8-10mm total adjustment range.
- Heat-forming rubber bands – Some high-end rubber straps can be heat-formed for a custom fit. Submerge the strap in hot (not boiling) water for 30 seconds, then immediately wrap around your wrist to form to your exact shape. This technique works best with natural rubber straps rather than silicone.
Leather and fabric bands typically offer more immediate comfort than metal bands but may require periodic readjustment as the material stretches over time. Rubber bands provide the most consistent fit through changing conditions and are ideal for sports or hot weather wear. For all strap types, avoid overtightening, which can accelerate wear and cause discomfort.
Mesh Watch Band Adjustment: Step-by-Step Guide
Mesh watch bands combine elegant styling with practical adjustability, offering some of the most precise fit options available. Their unique construction requires specific approaches for proper resizing.
- Identify your mesh band type – There are two primary mesh band designs: those with removable links and those with sliding clasps. Milanese mesh typically uses sliding clasps, while “brick mesh” patterns might use removable sections similar to traditional link bands.
- Adjusting sliding clasp mesh bands – Look for a small release mechanism on the underside of the clasp, usually appearing as a button or lever. When activated, this releases the clasp’s grip on the mesh, allowing you to slide it to any position along the band for micro-adjustments down to 1mm precision.
- Preventing clasp slippage – Once positioned, ensure the clasp teeth fully engage with the mesh. Poor engagement will cause the band to gradually loosen during wear. Test by tugging gently on the band—a properly secured clasp won’t slide or shift.
- Mesh bands with removable sections – Some mesh bands have removable links despite their woven appearance. Look for small screws or pins at connection points. These bands are resized using the same techniques as standard link bands but require more precision due to their delicate construction.
- Using the right tools – For sliding clasps, a small flathead screwdriver or even a credit card edge can help release the mechanism. For mesh bands with removable sections, use jeweler’s screwdrivers or specialized mesh band tools to avoid damaging the fine metal work.
- Adjusting mesh band end links – The connection points where the mesh meets the watch case sometimes have additional adjustment options. Look for small release buttons or screws that allow you to change the effective length of the band at these connection points.
- Protecting the mesh during adjustment – Always work on a soft surface and consider wrapping tool tips with tape when working with gold or other soft metal mesh bands. The fine wires in mesh construction can be easily damaged by scratches or dents.
Mesh bands offer unparalleled comfort due to their flexibility and breathability, while their infinite adjustment capability ensures a perfect fit regardless of wrist size changes throughout the day. Most quality mesh bands will maintain their adjustment indefinitely, though periodic checks are recommended as clasps can wear over time, potentially reducing their grip strength.
Professional Band Resizing Services
While many watch band adjustments can be performed at home, certain situations call for professional expertise. Understanding when to seek professional help can save your timepiece from potential damage and ensure optimal results.
- Complex luxury watch bands – High-end brands like Rolex, Patek Philippe, and Audemars Piguet often use proprietary screws, pins, or adjustment systems that require specialized tools and expertise. Attempting DIY resizing on these watches can void warranties and potentially cause thousands in damage.
- Ceramic and titanium bands – These materials require specialized handling as they can crack or scratch easily when improperly adjusted. Ceramic links in particular must be adjusted using precise pressure to prevent shattering, which typically requires professional equipment.
- Vintage watch bands – Older timepieces may have fragile components or unusual construction methods that aren’t obvious to the untrained eye. The risk of damaging irreplaceable vintage parts often outweighs the cost of professional service.
- Cost expectations – Professional watch band resizing typically costs between $10-50 depending on the band type and complexity. Most jewelers and watch specialists offer same-day service for basic adjustments. Luxury watch brands may charge more but provide guaranteed work that won’t void warranties.
- Choosing the right professional – Look for watchmakers or jewelers with specific experience in your watch brand. Ask about their experience, what tools they use, and whether they offer any guarantees on their work. Authorized dealers for your watch brand are often the safest choice for valuable timepieces.
- What to bring – When visiting a professional, bring any extra links or components that came with your watch, the original box and papers if available, and be prepared to show proof of purchase for high-value watches or those still under warranty.
- Insurance considerations – If your watch is valuable, verify whether the professional has insurance that covers your watch while in their possession. For extremely valuable pieces, consider temporary insurance coverage during the service period.
Professional watch band resizing offers peace of mind, especially for expensive timepieces. While paying for a service you could potentially do yourself might seem unnecessary, the cost of professional adjustment is minimal compared to repairing damage from a DIY attempt gone wrong. Many professionals also offer complementary services like ultrasonic cleaning or gasket inspection when performing band adjustments.
Common Mistakes When Resizing Watch Bands
Even with proper tools and techniques, watch band resizing can present challenges. Knowing how to address common issues can save time and prevent damage to your timepiece.
- Stripped screws – Among the most common issues with screw-type link bands. If you encounter a stripped screw, try using a rubber band between the screwdriver and screw head to increase grip. For severely stripped screws, watchmakers can often extract them using specialized tools or drill them out as a last resort.
- Stuck pins – Pins that won’t budge despite applying reasonable force usually indicate corrosion or bent pins. Apply a small amount of penetrating oil (WD-40 should be avoided as it can damage some finishes) and let it sit for 15 minutes before trying again. If still stuck, a professional has tools to extract damaged pins without harming the band.
- Lost collars or tiny components – Small pieces like pin collars often disappear during DIY resizing. Work over a white towel to increase visibility of dropped parts. If components are lost, contact the watch manufacturer for replacements—using makeshift alternatives can damage your band over time.
- Uneven band length – After resizing, your band should have approximately equal length on both sides of the watch case. If significantly uneven, reconnect the links with different distribution. Uneven bands can cause watches to sit awkwardly on the wrist and may affect clasp function.
- Leather holes tearing – When leather strap holes begin to tear, reinforce them using a small amount of clear nail polish applied to the inside of the hole. Allow it to dry completely before using the hole. For straps with significant tearing, consider replacement rather than continued repair.
- Clasp not closing properly – After resizing, if the clasp doesn’t close smoothly or securely, check for bent components or misalignment in the clasp mechanism. Sometimes readjusting the overall band length by half a link can resolve closure issues.
- Damaged threads in screw-type links – If screw threads become damaged, a watchmaker can sometimes re-tap the threads or replace the threaded tube entirely. Attempting to force screws into damaged threads will likely worsen the problem.
Addressing resizing problems promptly prevents further damage and extends the life of your watch band. For persistent issues, consulting a professional is always the safest approach. Many problems that seem major can be resolved with the right techniques and tools, while continued attempts with inadequate equipment often convert minor issues into major repairs.
Watch Band Care After Resizing
After successfully resizing your watch band, proper maintenance ensures it keeps its fit and extends its lifespan. Different materials require specific care approaches to maintain their appearance and structural integrity.
- Regular cleaning – Sweat, oils, and dirt accumulate in watch bands and can cause corrosion in metal bands or degradation in leather and fabric straps. Clean metal and rubber bands monthly with mild soap and water using a soft brush for link crevices. Wipe leather bands with a barely damp cloth—never saturate leather with water.
- Checking pin and screw security – Every few months, inspect your metal band’s connections for any signs of loosening. Gently flex each link to identify any that move more than others, indicating a potential loose pin or screw. Address these immediately to prevent link separation and possible watch loss.
- Avoiding extreme conditions – Dramatic temperature changes can cause metal to expand and contract, potentially loosening connections over time. Remove watches before saunas, hot tubs, or when participating in cold-weather activities when practical.
- Leather band rotation – If you wear a leather strap watch daily, consider owning two straps and rotating them. This allows each strap to fully dry and recover its shape between wearings, significantly extending lifespan and maintaining correct fit.
- Clasp maintenance – For folding clasps and deployant mechanisms, periodically clean the internal components with compressed air to remove debris that could affect function. Apply a tiny amount of watch-safe lubricant to moving parts if the clasp begins to stick.
- Seasonal adjustments – Wrists tend to expand slightly in summer and contract in winter. Your perfectly sized winter watch might feel tight during summer months. Consider seasonal resizing for optimal comfort year-round, particularly for metal bands that don’t flex.
- Professional inspection – Have your watch band professionally inspected annually, especially for valuable timepieces. Watchmakers can spot and address early signs of wear or potential failures before they lead to watch damage or loss.
Proper maintenance of your resized watch band ensures consistent comfort and prevents premature wear. Most quality watch bands will last for many years with appropriate care, making your initial investment in proper sizing tools and techniques worthwhile. Remember that different materials age differently—leather develops character while metal should maintain its original appearance with proper care.
Conclusion
Resizing your watch band transforms an off-the-shelf timepiece into a personalized accessory that fits perfectly and feels like it was made just for you. The process varies by band type but generally follows predictable patterns that become easier with practice. Metal bands offer precision but require specialized tools, while leather and fabric bands provide simpler adjustments with fewer size increments. Mesh bands offer perhaps the best combination of elegant appearance and infinitely adjustable fit.
For valuable watches or those with complex band designs, professional resizing remains the safest option. The modest cost of professional service is insignificant compared to the potential expense of repairing damage from inexperienced adjustments. However, for most standard watch bands, DIY resizing is entirely feasible with the right tools and careful attention to detail.
Remember that a properly sized watch band should be snug enough to prevent the watch from sliding around your wrist but loose enough to allow one finger to slip under the band. This balance ensures comfort while protecting your timepiece from unnecessary wear and potential damage. With regular maintenance and occasional readjustment as needed, your perfectly sized watch will provide years of comfortable, reliable service.