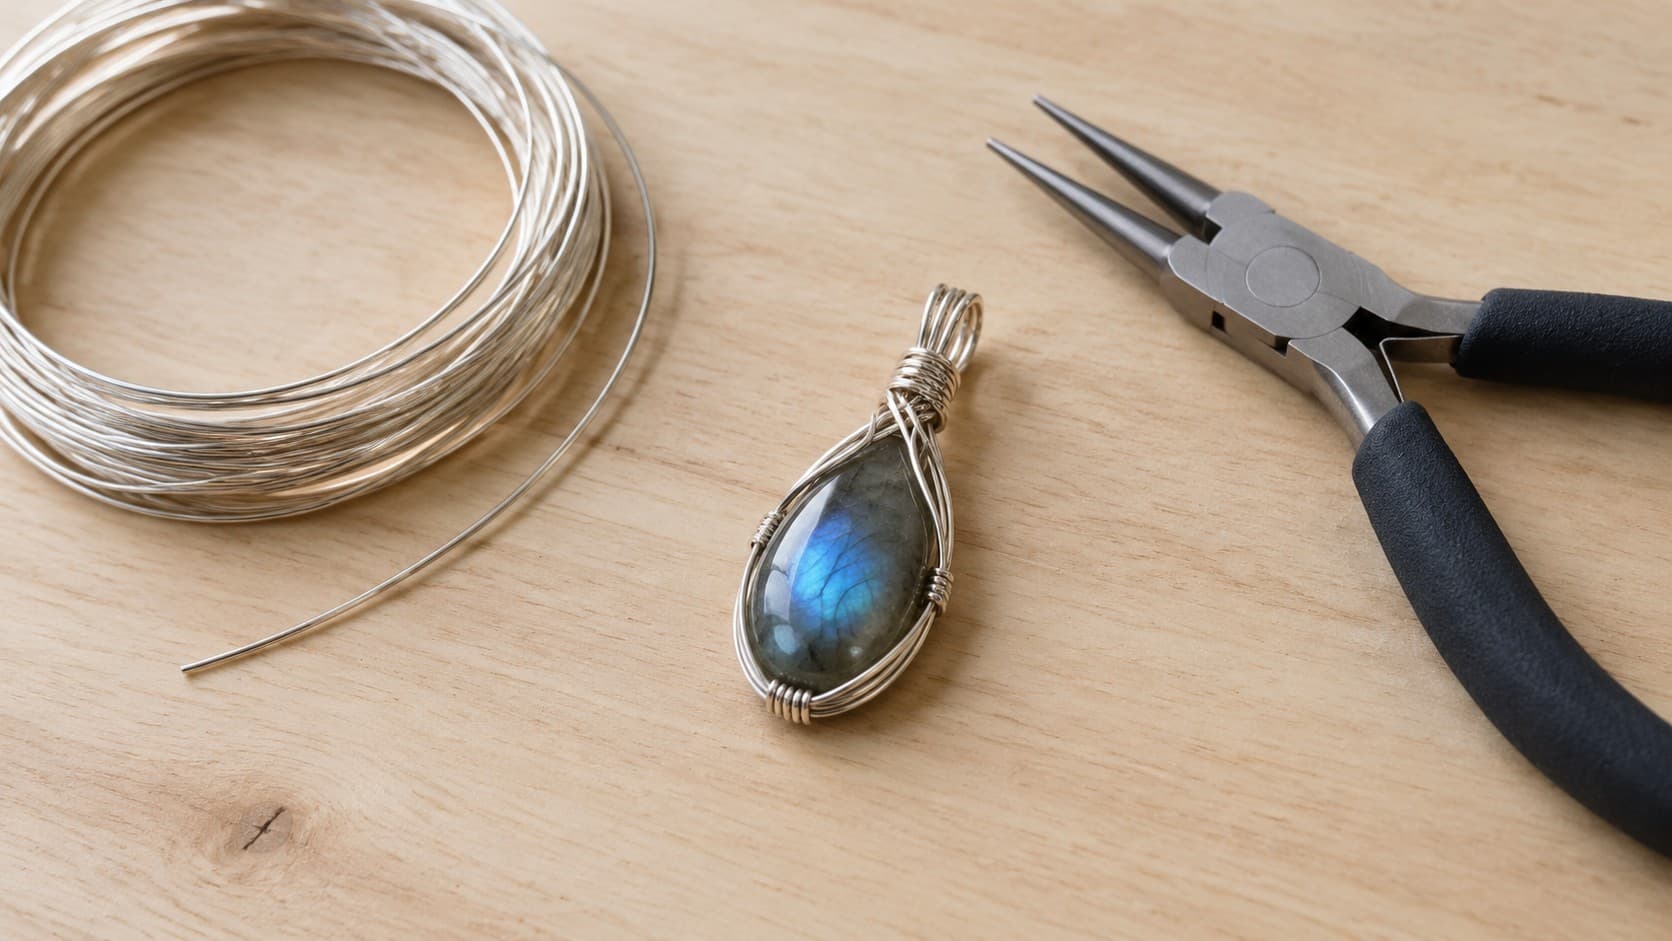
Wire wrapping is one of the oldest ways to make jewelry, and it does not need a torch, solder, or a workshop full of machines. All it takes is metal wire, a few pliers, and steady hands. Loose gemstones become pendants, bracelets are built link by link, and tiny secure loops hold a necklace together for years, all without any heat involved. Because it is a “cold” technique, wire wrapping remains one of the friendliest paths into jewelry making for anyone who has never touched a bead or a spool of wire before.
Wire Wrapping Basics Explained
Wire wrapping means shaping and coiling metal wire around itself, around beads, or around gemstones to hold everything in place without soldering. Once it is bent, curved, and coiled, the wire itself becomes both the structure that holds a piece together and a decorative detail in its own right. Because nothing gets melted or fused, the whole process happens at room temperature with hand tools.
That single fact is what makes wire wrapping so approachable compared to traditional metalsmithing, which requires a soldering torch, safety gear, and a ventilated space. Wire wrapping needs only a comfortable table, good light, and a small tool kit. This is why so many hobbyists start here before ever picking up a torch, and why some professional jewelers still use wire wrapping for delicate stone settings that heat could damage, like opals or pearls.
The technique is also far from new. Spiraled wire components have turned up in jewelry excavated from the ancient Sumerian cemetery of Ur, meaning metalworkers were coiling wire into decorative shapes thousands of years before power tools existed. That long history is part of why wire wrapping still feels timeless rather than trendy: the core motion of bending wire around itself has barely changed, even though modern wire comes pre-cut, pre-measured, and in far more colors and metals than any ancient goldsmith had access to.
Essential Tools for Wire Wrapping
Three pliers, a wire cutter, and something to wrap are the essentials. Round-nose pliers shape loops and curves, chain-nose (or flat-nose) pliers grip and flatten wire, and a good flush cutter trims the ends cleanly so nothing pokes out and scratches skin.
Beyond those basics, most wire wrappers eventually add a nylon-jaw plier, which grips wire without scratching it, a bracelet mandrel for shaping bangles, and a small ruler for measuring wire length before cutting. None of this is expensive, and a starter tool kit usually costs less than a single fine jewelry piece, which is part of why wire wrapping has stayed popular as a hobby for well over a century.
A wire jig and a wire straightener tend to earn their place once a wrapper moves past the first few projects. A jig, a small board with removable pegs, allows the same shape to be bent repeatedly, which matters when a design calls for several matching loops or links. A straightener pulls the small kinks out of a spool of wire, since even a slight bend can throw off a symmetrical design.
A dull cutter leaves a jagged wire end that can snag on clothing or scratch skin, and it also makes clean loops far harder to form. Sharp cutters are worth the investment.
Which Wire Gauge Works Best?
Wire gauge describes how thick the wire is, and lower numbers mean thicker wire. This trips up almost everyone at first, since it feels backwards: 12-gauge wire is chunky and stiff, while 28-gauge wire is thin as thread.
| Gauge | Thickness | Best used for |
|---|---|---|
| 12–14 | Very thick | Cuff bracelets, rings, sturdy frames |
| 16–18 | Medium-thick | Ear wires, clasps, bangle bases |
| 20–22 | Medium | Pendants, jump rings, general wrapping |
| 24–26 | Thin | Coiling, weaving, securing small beads |
| 28–30 | Very thin | Fine weaving and delicate coiling only |
A 24-gauge wire slips through the drill holes of most gemstone beads without trouble and still keeps enough backbone to hold a wrapped loop’s shape, while 22-gauge works well as an everyday, general-purpose size. Most experienced wire wrappers recommend 20 or 22 gauge dead-soft wire as a starting spool, since it holds a shape without much resistance.
What Do “Dead Soft,” “Half Hard,” and “Full Hard” Mean?
These terms describe how stiff the wire is before any shaping begins, and the distinction matters just as much as gauge. Dead soft wire bends the easiest and suits beginners best. Half-hard wire has some spring to it, making it better suited to parts that need to hold their shape under stress, like ear wires and clasps. Full-hard wire barely bends at all and is rarely used in hand wire wrapping, since it is simply too stiff to shape with pliers alone.
Bending dead-soft wire back and forth actually “work-hardens” it, meaning the metal becomes stiffer the more it is shaped. That is why a finished wire-wrapped loop often feels sturdier than the raw wire did at the start. Half-hard wire arrives already stiffened, since manufacturers draw it through a series of progressively smaller holes punched into a metal plate before it ever ships, which pre-hardens the metal before it reaches a jewelry bench.
What Are the Different Wire Shapes?
Shape is worth knowing alongside gauge and hardness. Round wire is the most common shape and the easiest to work with, since it has no flat sides to track while bending and twisting. Half-round wire has one flat edge, which keeps it from twisting or sliding once it is pressed against a stone or bundled together with other wires. Square wire has four flat sides and gives designs a bit more sparkle and structure, while twisted wire, usually square wire twisted into a spiral, adds decorative texture without needing any extra tools.
Round wire remains the safest choice for a first project. Once a wrapper starts building a cabochon cage, switching the outer wraps to half-round often gives a noticeably neater, flatter finish.
Best Metals for Wire Wrapping
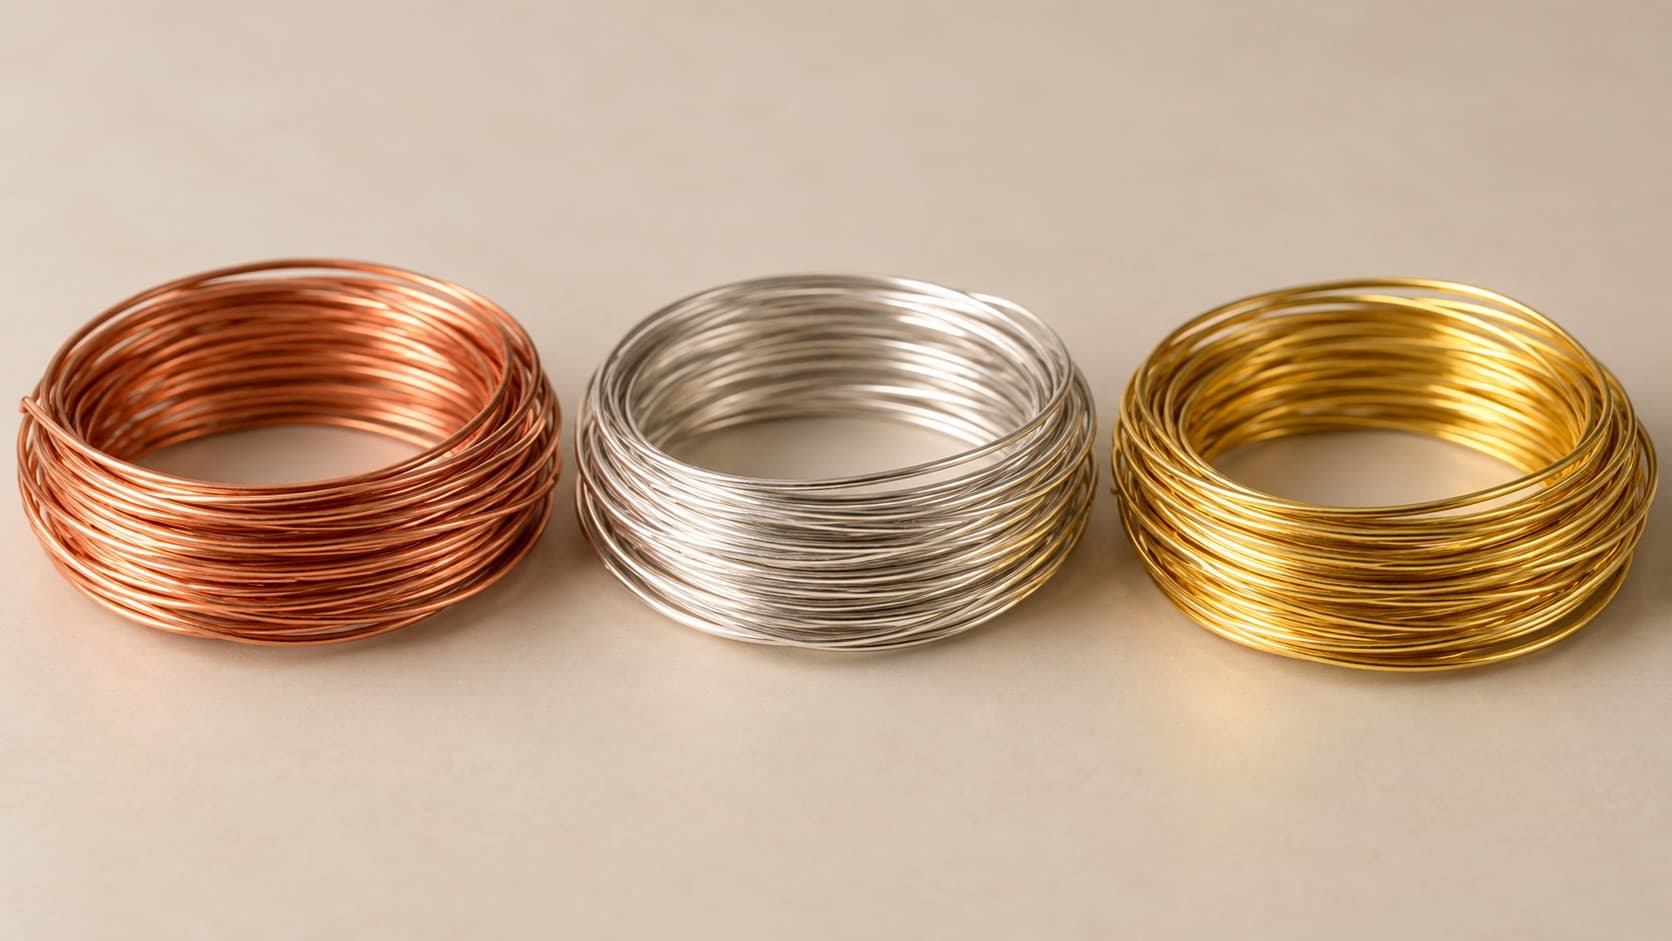
Copper, sterling silver, and gold-filled wire are the three most common choices, and each fits a different budget and skill level. Copper is the cheapest and softest, which makes it the friendliest metal for practicing new techniques before risking a more expensive wire, though copper does need a little more upkeep than some other metals once a piece is finished.
Sterling silver costs more but gives a bright, polished look that holds up well over time as long as it’s kept from tarnishing, since silver naturally reacts to air and moisture over time. Gold-filled wire, a thick layer of real gold bonded to a base metal core, offers a warm gold tone at a fraction of the price of solid gold, and it resists tarnish far better than plain brass or copper. Argentium silver, a modern silver alloy, is also gaining popularity because it tarnishes more slowly than traditional sterling.
Copper and brass remain the most common starting metals for beginners. Once basic loops and wraps feel natural, moving up to sterling silver or gold-filled wire for a finished piece becomes a much smaller leap.
Metal sensitivities have solutions as well. Niobium and titanium are both hypoallergenic and now come in a range of anodized colors, which is why they show up often in modern wire-wrapped earrings meant for sensitive ears. Both are noticeably harder to bend than copper or silver, so they tend to suit wrappers who already have some experience shaping wire by hand.
How to Make a Wire Wrapped Loop
A wrapped loop is a small coil that closes a loop of wire around its own base, and it is the single most useful skill in all of wire wrapping. Unlike a simple open loop, a wrapped loop cannot come undone by accident, which is why it shows up in earrings, pendants, and bracelet links alike.
The process starts by bending the wire to a right angle above a bead, forming a loop around the round part of a plier jaw, then holding that loop steady while the remaining wire tail coils neatly around the straight wire underneath it. Trimming the tail close to the coil and pressing the cut end flat with pliers locks the loop permanently in place. Practicing this one motion repeatedly on scrap copper wire before starting a real project is the most useful habit a beginner can build.
Two mistakes account for most early failures. Coiling too loosely leaves gaps between wraps and makes the loop weak enough to pull open under normal wear. Cutting the tail flush against the coil, rather than trimming it with a small margin, can leave a sharp point sticking out that catches on skin or clothing. Both problems fade with practice, since the right amount of tension becomes automatic after a handful of loops, and a well-made loop holds up fine through normal cleaning and everyday wear just like any other piece in a jewelry box.
How to Wire Wrap a Gemstone
Wrapping a briolette, a teardrop-shaped stone drilled through the top, means crossing two wire ends above the stone and coiling them into a loop that holds it snugly in place. One wire is deliberately left longer than the other before both meet above the stone, letting the piece hang balanced and centered, and the longer wire is the one that gets coiled into a small loop above that meeting point using round-nose pliers.
From there, the long wire wraps back down around itself and around the top of the stone, tucking the tail in neatly so no sharp end is left exposed. The same basic idea, crossing wires above a stone and coiling them into a secure loop, applies to wrapping cabochons, flat-backed polished stones, too, just with more strands of wire forming a cage around the wider stone instead of a single crossed pair.
Cabochons are usually wrapped by laying several long wires across the back of the stone like spokes on a wheel, bending them up and over the front edges, then binding them together at the top with a separate, thinner wire. Because a cabochon has no drilled hole to thread wire through, the whole design depends on tension and the stone’s own shape to stay in place, which is why half-round or square wire is often used for the front-facing wraps: the flat side grips the stone’s edge more securely than round wire would.
Advanced Wire Wrapping Techniques
Weaving techniques take over once basic loops and briolette wraps feel easy, since multiple wires interlock instead of simply coiling around one another. Herringbone wraps, basket weaves, and wire netting all use several strands at once to build texture and pattern rather than a single functional loop.
Viking knit is the most well-known advanced technique, built by looping fine wire around the fingers or a mandrel to form a flexible woven tube, then pulling it through a drawplate to tighten and smooth the chain. A finished chain is usually capped off by sliding a cone or end piece over the pulled tail, then adding a wrapped loop so a clasp can attach. The technique dates back over a thousand years to Scandinavian metalworkers, and modern jewelry makers still use nearly the same finger-looping method today, just with commercial wire instead of hand-drawn metal.
Sculptural wire wrapping is the other major advanced path, where wire is shaped freehand into rings, cuffs, and pendant frames without any pre-made pattern. This takes the most practice, since there is no template to follow, only an understanding of how wire tension and hardness behave that comes from wrapping hundreds of simpler pieces first.
Frequently Asked Questions
Is soldering required for wire wrapped jewelry?
No. Wire wrapping is specifically a cold-connection technique, meaning every piece is shaped and secured using pliers and tension alone, with no heat or solder involved at any step.
What is the easiest wire to practice with?
Dead-soft copper wire in 20 or 24 gauge is the easiest and cheapest option for practice, since it bends easily and mistakes cost almost nothing to redo.
Does wire wrapped jewelry fall apart over time?
A properly made wrapped loop, with the wire coiled tightly and the tail tucked flat, is very durable and can last for years of regular wear. Loose or sloppy wraps are the usual cause of pieces coming undone, not the technique itself.
Can any gemstone be wire wrapped?
Most gemstones can be wire wrapped as long as they are either drilled, for briolette-style wraps, or shaped in a way that allows wire to sit securely around them, like a cabochon. Very soft or porous stones need gentler wire tension so the coils do not chip or scratch the surface.
Is wire wrapping the same as chainmaille?
No. Chainmaille uses pre-made metal rings linked together in patterns, while wire wrapping shapes a single continuous piece of wire into loops, coils, and frames. Some advanced projects combine both techniques in one piece.
The Bottom Line
Wire wrapping earns its lasting popularity because it scales with skill. A single wrapped loop can be mastered in an afternoon and already produce a wearable pair of earrings, while a woven Viking knit chain or a sculptural cuff bracelet might take years of practice to shape freehand with confidence. What ties the whole craft together is patience with a handful of simple, repeatable moves: choosing the right gauge and hardness for the job, forming a clean loop, and coiling wire tight enough to hold but gentle enough not to crack a stone. Copper and a well-practiced basic loop are where the craft begins, and the more advanced techniques follow naturally from there.