A leather handbag can last for decades, but only if it gets a little help along the way. Leather is skin, and just like skin, it collects dust, dries out in the sun, and loses its softness if nobody ever moisturizes it. Cleaning and conditioning a bag at home is not complicated once the right order of steps and the few genuinely safe products are known. Get it wrong, though, and the result can be a stiff, faded, or stained bag that never looks quite right again.
What’s the Difference Between Cleaning and Conditioning?
Cleaning removes dirt, oil, and grime sitting on top of the leather. Conditioning puts moisture back into the leather itself. They are two separate jobs, and skipping either one causes problems.
Leather is a natural material made of tiny fibers, similar to the collagen in human skin. Over time those fibers pick up dust, hand oils, and sweat, which is what cleaning addresses. But the cleaning step, even a gentle one, also lifts away some of the leather’s natural oils. Without a conditioner to replace that moisture, the fibers dry out and the leather turns stiff, eventually cracking. Conditioner acts like lotion for a bag: cleaning without conditioning is the equivalent of washing skin all day and never moisturizing it.
What’s Needed Before Starting
Only a handful of things are required, and most of them are inexpensive.
- A soft, lint-free cloth (microfiber works well), ideally two or three
- A soft-bristled brush, like an old toothbrush, for crevices and stitching
- A leather cleaner made for handbags, or plain lukewarm water with a drop of mild, unscented soap
- A leather conditioner made for the specific type of leather
- A vacuum with a brush attachment, for the inside of the bag
Cleaner labels are worth checking for alcohol, ammonia, or bleach, since these show up in some all-purpose cleaners and even a few “leather wipes,” and they strip away natural oils much faster than a dedicated leather product would. A pH-neutral cleaner is the safest option for a handbag, since it lifts dirt without disturbing the leather’s own chemistry the way stronger, more alkaline products can.
Any new product should be tested first on a small hidden spot, such as the underside of a strap or a corner of the bottom panel. After a few minutes, checking for darkening, fading, or a sticky residue confirms whether it’s safe to use on the rest of the bag.
Emptying the Bag and Removing Loose Dirt
Everything should come out of the bag first, including anything stuck in the corners, followed by a light shake upside down. Skipping this step usually means crumbs, sand, or old receipts get pushed around instead of actually cleaned out.
Once empty, a dry, soft cloth wiped over the whole exterior picks up loose dust and surface grime before any liquid touches the leather, which matters because rubbing damp dirt into leather can grind it into the pores instead of lifting it off. For the interior lining, a vacuum with a brush attachment pulls debris out of seams far more effectively than a cloth.
Cleaning the Leather Gently
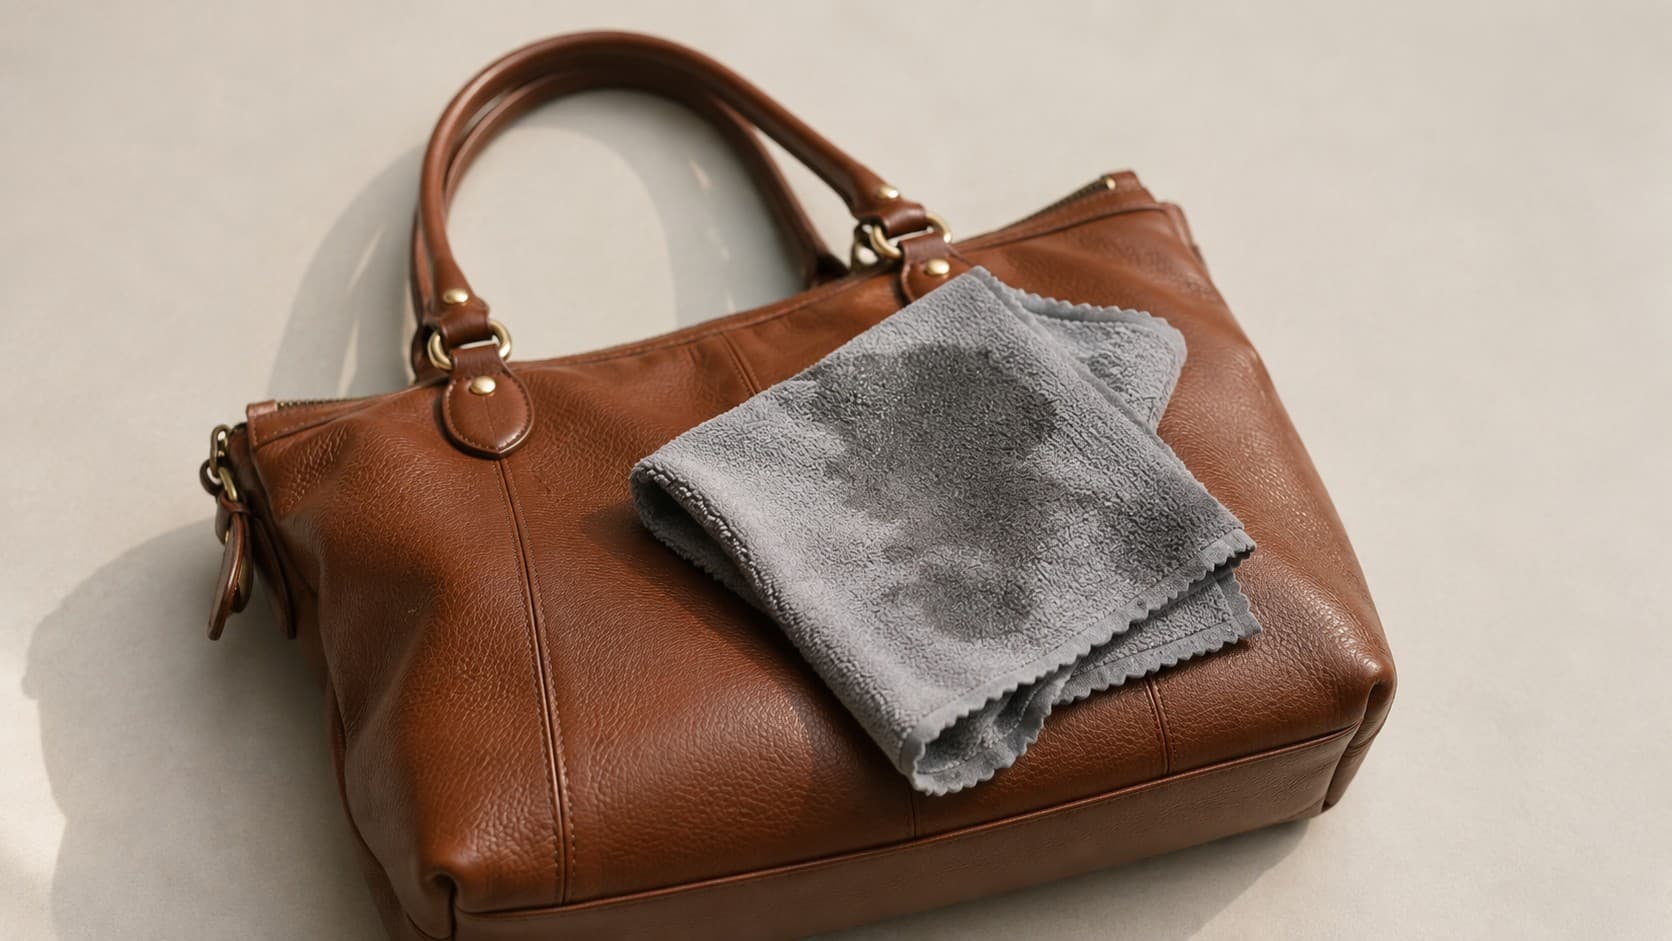
A leather-specific cleaner, or a barely damp cloth with a tiny amount of mild soap, works best applied in small circular motions. Leather does not need to be soaked to get clean, and less product almost always produces a better result than more.
The cloth should be dipped in the cleaning solution and wrung out until just damp, not wet. Working in small sections, cleaning one full panel at a time rather than a random spot in the middle, avoids the faint water line that can appear where a wet area meets a dry one. A second cloth dampened in plain water, passed over each section after cleaning, lifts off any leftover soap, since residue left on the surface can attract more dirt later. A third, fully dry cloth finishes the job by patting away excess moisture.
Treating leather like washable fabric is a common mistake. Too much water can seep into the fibers, warp the shape of the bag, or encourage mold if it doesn’t dry out completely. A damp cloth, not a soaked one, is the standard to follow.
Handling the Hardware Separately
Zippers, clasps, and buckles usually need a separate cleaning pass. A cotton swab with a small amount of metal polish, or just soapy water for light grime, cleans hardware directly, while keeping polish away from the surrounding leather prevents staining or discoloration. A dry, soft toothbrush also works well for brushing dust out of the grooves around zippers and clasps.
Hardware described as gold-tone, rose-gold-tone, or plated calls for a lighter touch, since it’s usually a thin layer of metal over brass or another base metal. A strong metal polish can wear through that thin plating faster than it would on solid metal, so mild soapy water on a soft cloth is generally enough, with stronger polish reserved for hardware that’s clearly tarnished and not plated.
Removing Common Leather Stains
Different stains call for different fixes, and using the wrong one can make things worse.
| Stain Type | What to Try | Notes |
|---|---|---|
| Grease or oil | Cover with baking soda or cornstarch, leave overnight, then brush off | The powder absorbs the oil; rubbing it in should be avoided |
| Ink | Dab gently with a cotton swab of rubbing alcohol | Testing first matters — alcohol can affect dye on some leathers |
| Mud | Let it dry completely, then brush off before using a damp cloth | Wiping wet mud spreads it deeper into the leather |
| Water spots | Lightly dampen the entire panel evenly with a clean cloth | Spot-treating alone can leave a ring; evening out the moisture prevents this |
| Coffee or wine | Blot immediately with a dry cloth, then wipe with a barely damp cloth | Rubbing pushes the liquid deeper into the fibers and should be avoided |
| Salt stains (winter) | Wipe with a cloth dampened in equal parts water and white vinegar | Salt draws moisture out of leather, so conditioning the spot afterward helps |
Fresh stains come out far more easily than old ones, since dirt and oils that sit for weeks work their way deeper into the leather’s pores and bond with them. Anything stubborn, or leather like suede, nubuck, or exotic skins, is often better left to a professional cleaner, since those materials react very differently to home remedies than smooth, finished cowhide does.
Letting Leather Dry Before Conditioning
Room temperature, out of direct sunlight, is the right environment for a bag to dry fully before anything else happens. This usually takes several hours, and sometimes overnight for a bag that got fairly wet.
Hairdryers, radiators, and direct sun should never be used to speed the process along. Fast, high heat pulls moisture out of the leather too quickly, causing shrinking, warping, or a texture that turns hard and brittle. Direct sunlight adds the problem of fading the color unevenly. Patience is the entire trick here — leather that dries slowly at room temperature keeps its shape and softness far better than leather that’s rushed.
Applying Leather Conditioner
Once the bag is bone dry, a leather conditioner rubbed into a soft cloth and worked over the whole bag in small circular motions, covering evenly rather than just the dull-looking areas, keeps the leather flexible over the long run.
Leather conditioner works by replacing the natural oils lost through everyday wear, sunlight, and the cleaning process itself. Most conditioners contain ingredients like lanolin or natural waxes that soak into the fibers and keep them supple, a very different job from what a cleaner does. Conditioner applied to leather that’s still damp can trap moisture underneath the surface, which is why full drying matters first. A thin layer works best, since over-conditioning can leave the bag feeling greasy or looking darker than intended. After absorbing for the time listed on the product, any extra buffs away easily with a clean, dry cloth.
Ingredient choice matters more for a handbag than it might seem. Heavier oil-based conditioners, like mink oil or neatsfoot oil, can darken leather noticeably and are designed more for tougher goods like work boots and saddles than a fashion handbag. They can also clog the leather’s pores over time and should never touch suede or nubuck. A lighter, cream or lotion-style conditioner made specifically for handbags hydrates the leather without changing its color or leaving a greasy film.
Choosing Between Saddle Soap and Conditioner
Saddle soap is a cleaner, and leather conditioner is a moisturizer — mixing up their jobs is one of the most common leather-care mistakes. Saddle soap lifts dirt, grime, and old wax out of the pores of the leather, while conditioner replaces the natural oils leather loses over time, keeping fibers flexible so they don’t crack.
Saddle soap tends to be more alkaline, which makes it effective at cutting through heavy grime on thick, sturdy leathers like belts or boots, though it’s stronger than most bags need. For a handbag, a gentle pH-neutral cleaner is usually the safer choice, since harsh cleaning agents can strip away more natural oil than necessary. The same rule applies regardless of cleaner: cleaning first, drying fully, then conditioning — never the reverse, since conditioning over dirt just seals the grime in.
How Often Should a Leather Bag Be Cleaned?
A quick wipe-down after regular use is enough day to day, but a full clean-and-condition routine is usually only needed every few months. Deep cleaning roughly every three months suits a bag used often, with conditioning done a bit less frequently — anywhere from twice a year to once a month depending on how dry or humid the climate is.
Bags kept in humid, coastal areas may need conditioning more rarely, since the leather naturally holds more moisture from the air. Bags kept somewhere dry, or exposed to heating and air conditioning often, dry out faster and benefit from conditioning more frequently. The leather itself is the best guide — dullness, stiffness, or tiny surface cracks are signs that moisture is needed sooner rather than later.
The type of leather finish also changes the math. Leather with a heavier protective coating, sometimes called pigmented or finished leather, already has a layer sealing in moisture, so it can go longer between conditioning sessions. Untreated or lightly finished leather, often called aniline leather, absorbs and loses moisture more directly, which usually means conditioning is needed a bit more often to stay supple.
Keeping a Leather Bag Safe in Storage
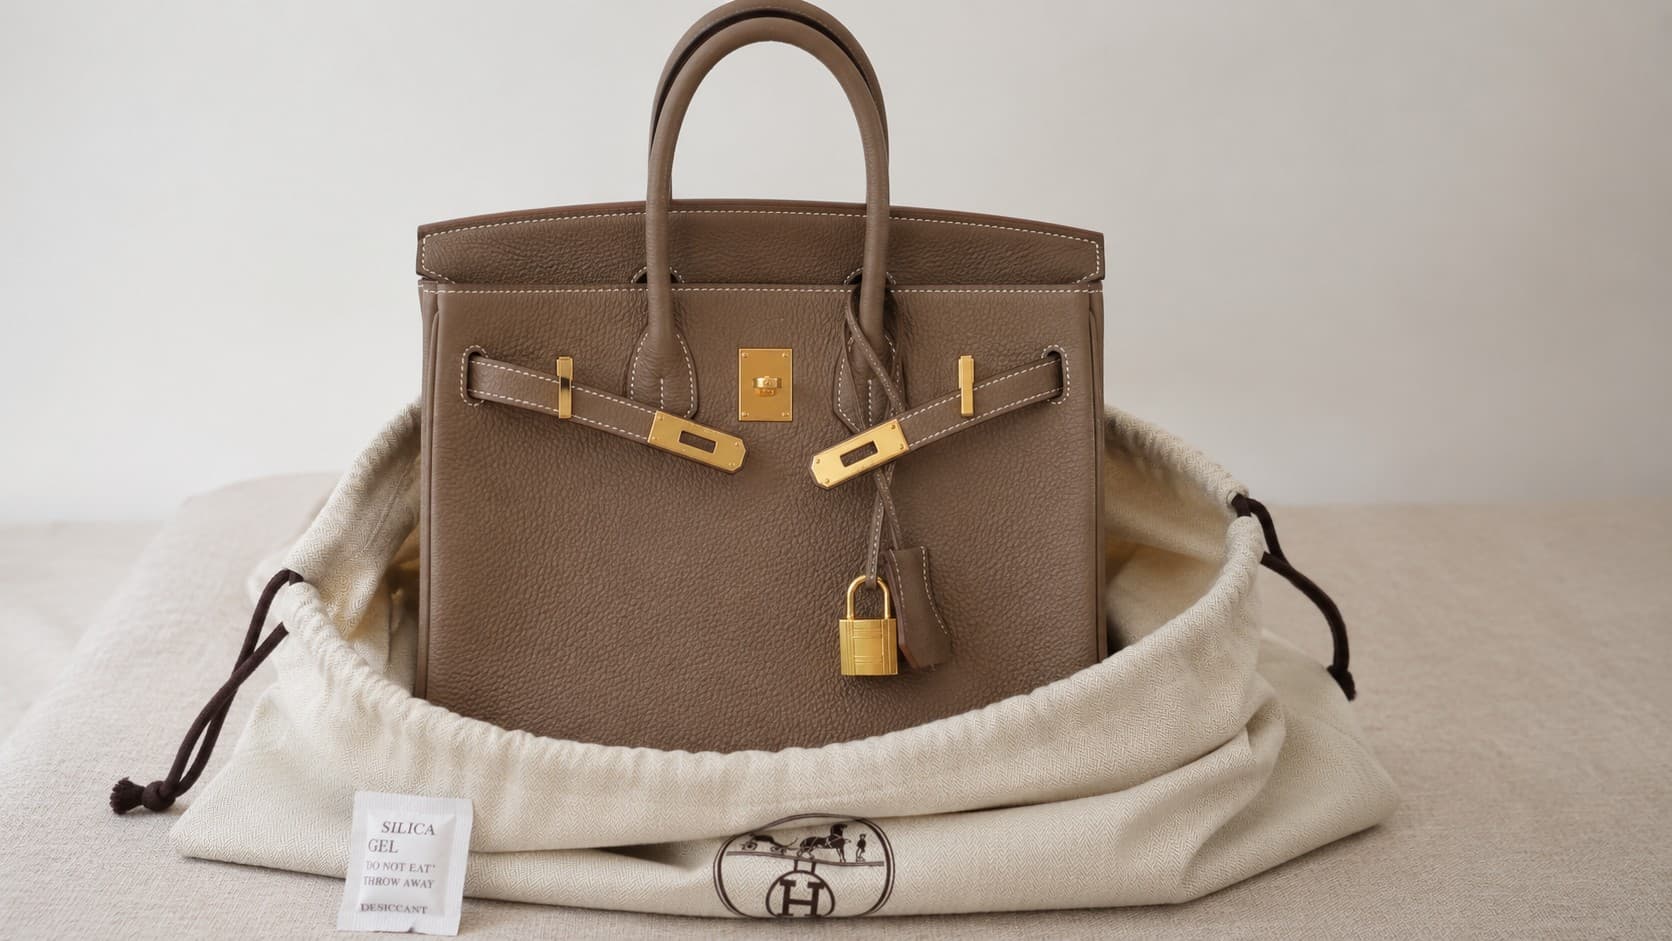
Good storage does almost as much work as cleaning does. Standing the bag upright inside its dust bag, stuffed lightly with acid-free tissue paper or bubble wrap to hold its shape, works well — newspaper should be avoided, since the ink can transfer onto the leather. Keeping the bag away from direct sunlight and heat sources prevents drying and fading over time. Bags that need to keep handbags from losing their shape in storage over long periods benefit especially from this upright, stuffed approach.
Letting a stored bag “breathe” every couple of weeks, rather than leaving it sealed in a closet for months on end, reduces the risk of mold in an airtight, airflow-free space, especially in humid climates. A small silica gel packet tucked inside the dust bag absorbs excess moisture in damp environments.
Frequently Asked Questions
Can baby wipes or regular soap be used on a leather handbag?
Both are best avoided. Regular dish soap or hand soap is often too harsh and can strip the leather’s natural oils, and many baby wipes contain alcohol or fragrance that can dry out or discolor leather over repeated use. A cleaner made specifically for leather, or plain water with a tiny amount of mild, unscented soap, is the safer choice.
Does conditioning make a bag darker?
A slight, even darkening right after conditioning is normal and usually fades a bit as the leather absorbs the product over the following day or so. Uneven or blotchy darkening usually means too much conditioner was applied in one spot, which is why testing on a hidden area first and using a thin, even layer matters.
How can the type of leather be identified?
The care tag or original product description, if still available, usually settles it, since different leathers — smooth, suede, nubuck, patent, exotic skins — need different products. Without that information, a small test patch in an inconspicuous area is the safest way to check how the leather reacts before treating the whole bag.
Is leather conditioner useful on a bag that isn’t dirty?
Yes. Conditioning is about moisture, not dirt, so a clean bag that feels dry or stiff can still benefit from conditioner. Cleaning isn’t a prerequisite if the leather isn’t actually dirty — full dryness before conditioning is the only real requirement either way.
What should happen if a leather bag gets caught in the rain?
Wiping off excess water with a dry cloth as soon as possible, followed by air drying naturally away from direct heat, is the right first response. Once completely dry, a leather conditioner helps restore any moisture balance and flexibility the leather may have lost.
Conclusion
A leather bag rewards a fairly simple pattern of care: dirt gets lifted away with a gentle cleaner, the leather is given time to dry completely, and moisture goes back in with a conditioner suited to that specific leather. Harsh soaps, hairdryers, and conditioning over grime are the mistakes that shorten a bag’s life, while consistent, patient care lets a good leather bag hold its shape, color, and softness for years. The bags that age best aren’t the ones that never get dirty — they’re the ones cleaned and conditioned a few times a year, on a routine, rather than only after something goes wrong.